
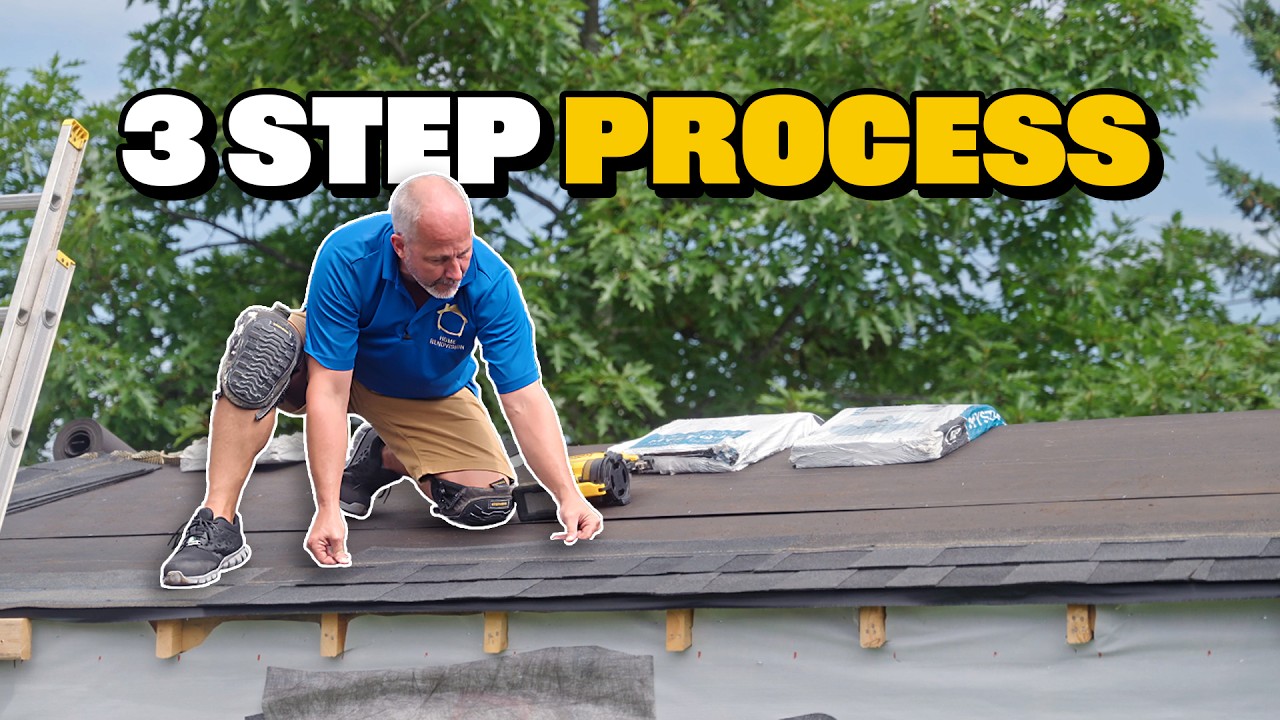
Installing roof shingles may look complicated, but with the right tools, materials, and preparation, homeowners with basic DIY experience can understand the process. However, roof work involves serious fall and weather-related hazards, so if the roof is steep, damaged, or difficult to access, hiring a professional roofer is the safer option. This beginner’s guide explains the general process of installing asphalt roof shingles. What You’ll Need Before starting, gather the necessary materials and tools: Always check the shingle manufacturer’s installation instructions because nailing patterns, exposure, underlayment requirements, and installation methods can vary by product and roof design. Step 1: Inspect and Prepare the Roof Before installing new shingles, inspect the existing roof structure. Look for: Replace damaged decking and repair structural problems before installing the new roofing system. Step 2: Remove the Old Shingles If you are replacing an existing roof, remove the old shingles and roofing materials according to local requirements. Use a roofing shovel or pry bar to carefully lift the old shingles. Remove loose nails and debris and make sure the roof deck is clean and reasonably smooth. Never install new shingles over a damaged or unstable roof deck. Step 3: Install the Drip Edge Install metal drip edge along the roof edges according to the roofing system manufacturer’s instructions and local building requirements. The drip edge helps direct water away from the roof deck and into the gutters while helping protect the edges of the roof from moisture. Step 4: Install the Underlayment Cover the roof deck with the appropriate roofing underlayment. Start at the lower edge and work upward, keeping the material properly aligned and overlapped according to the manufacturer’s instructions. Pay particular attention to valleys and areas where water may collect. Underlayment provides an additional layer of protection beneath the shingles. Step 5: Install Flashing Flashing is especially important around areas where the roof meets another structure or where water could enter. Common flashing locations include: Use the appropriate flashing system for each location rather than relying only on roofing cement. Step 6: Install Starter Shingles Starter shingles are installed along the lower edge of the roof before the main shingles. Follow the manufacturer’s required positioning and fastening pattern. A properly installed starter course helps protect the roof edge and provides the correct foundation for the first regular shingle course. Step 7: Install the First Row of Shingles Begin installing the main shingles according to the manufacturer’s layout instructions. Use a chalk line when necessary to maintain straight courses. Position each shingle correctly and use the specified number and placement of roofing nails. Do not guess the nail placement. Incorrectly positioned nails can reduce the shingles’ ability to resist wind and may contribute to leaks. Step 8: Continue Installing Shingles Up the Roof Work systematically from the lower portion of the roof toward the ridge. Each new course should be installed with the manufacturer’s specified exposure and offset pattern. Maintain consistent alignment as you move across the roof. Take extra care around: These areas require proper integration between shingles, flashing, and underlayment. Step 9: Install Ridge Shingles Once the main roof surfaces are covered, install the appropriate ridge shingles or ridge-cap products. Follow the manufacturer’s instructions for fastening and positioning. If the roof uses ridge ventilation, make sure the ventilation system remains properly installed and unobstructed. Step 10: Inspect the Completed Roof After installation, inspect the entire roof carefully. Check for: Clean up roofing debris around the property and make sure gutters and drainage areas are clear. Common Beginner Mistakes to Avoid Using Too Few Nails Every shingle system has specific fastening requirements. Using fewer nails than required can compromise wind resistance. Incorrect Nail Placement Nails installed too high, too low, or outside the manufacturer’s specified nail zone can cause installation problems. Ignoring Flashing Many roof leaks occur around penetrations and transitions rather than in the middle of the shingle field. Proper flashing is essential. Installing Over Damaged Decking New shingles cannot compensate for rotten or structurally damaged roof decking. Poor Shingle Alignment Uneven courses can make the roof look unprofessional and may indicate incorrect installation. Working in Unsafe Weather Avoid roofing during rain, high winds, icy conditions, or other unsafe weather. Wet shingles and roof surfaces can become extremely slippery. How Long Does It Take to Install Roof Shingles? The installation time depends on several factors, including: A straightforward roof can be completed relatively quickly by an experienced roofing crew, while a complex roof may require considerably more time. When Should You Hire a Professional Roofer? DIY shingle installation may not be appropriate for every homeowner. Consider hiring a professional if the roof is: Professional roofers also understand local building requirements and manufacturer specifications. Final Thoughts Learning how to install roof shingles starts with understanding the complete roofing system—not just placing shingles on the roof. Proper preparation, underlayment, flashing, starter shingles, fastening, ventilation, and final inspection all contribute to a durable roof. For beginners, safety should always come first. If you are unsure about the roof’s condition or your ability to complete the installation safely, contact a qualified roofing professional rather than taking unnecessary risks.